
Welcome to the Honeywell T10 Installation Manual, your comprehensive guide for installing and configuring the T10 Smart Thermostat. This manual ensures a smooth and proper setup process.
1.1 Overview of the Honeywell T10 Smart Thermostat
The Honeywell T10 Smart Thermostat is a cutting-edge, ENERGY STAR-certified device designed for efficient temperature control. It features wireless sensors for precise temperature and humidity measurement, compatibility with 24VAC systems, and seamless smart home integration. The T10 Pro is tailored for professional installers, offering advanced scheduling and customization options. Its user-friendly interface and automatic programming capabilities make it a versatile solution for modern HVAC systems.
1.2 Importance of Proper Installation
Proper installation of the Honeywell T10 Smart Thermostat is crucial for optimal performance and energy efficiency. Incorrect installation can lead to system malfunctions, higher energy bills, or even safety hazards. Following the manual ensures compatibility with your HVAC system, correct wiring, and proper sensor connectivity. It also guarantees warranty validity and safe operation, maximizing the thermostat’s advanced features and smart home integration capabilities.
System Requirements and Compatibility
The Honeywell T10 is compatible with 24 VAC systems, including heating, cooling, and heat pumps. Ensure wiring and voltage match specifications for optimal performance.
2.1 Compatible HVAC Systems
The Honeywell T10 works seamlessly with various HVAC systems, including forced air, heat pumps, and radiant systems. It supports up to 3 stages of heating and 2 stages of cooling. Compatibility extends to both traditional and modern setups, ensuring efficient temperature control in diverse home environments. Proper system matching is essential for optimal performance and energy efficiency.
2.2 Voltage and Wiring Requirements
The Honeywell T10 requires a 24VAC power supply and is compatible with most standard HVAC wiring configurations. Ensure proper connections to the R, C, W, Y, and G terminals. Do not connect to line voltage (120/240V) to avoid damage. Verify wiring compatibility before installation and always turn off power at the circuit breaker for safety. Incorrect wiring can lead to system malfunctions or damage. Always follow the manual’s wiring guidelines carefully.
Pre-Installation Steps
Begin by unpacking and inventorying all components, familiarizing yourself with the UWP mounting system. Position and level the UWP on the wall, ensuring it is secure and mark hole positions.
3.1 Unpacking and Inventory of Components
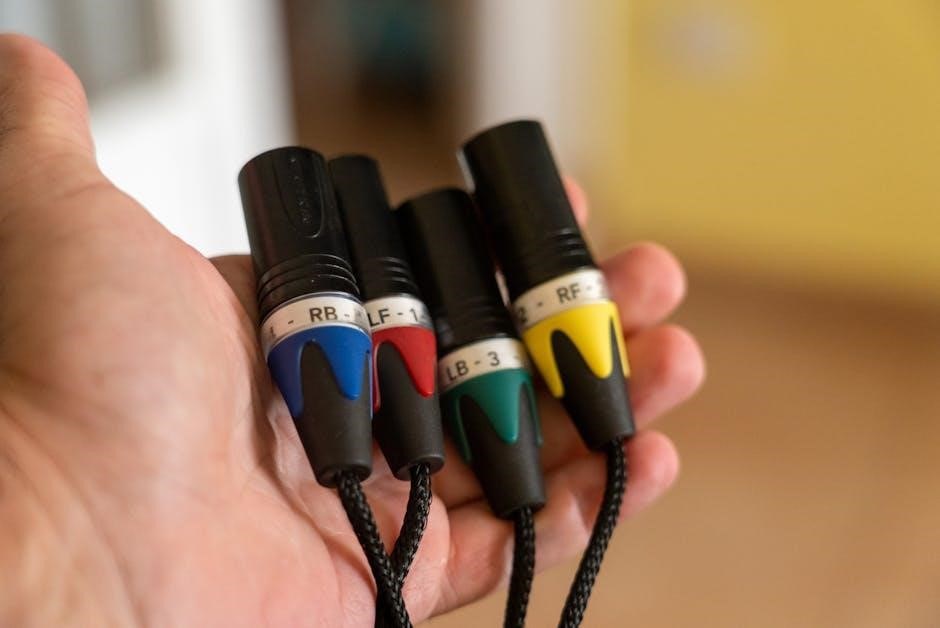
Begin by carefully unpacking the Honeywell T10 thermostat and its accessories. Verify that all components, such as the thermostat unit, UWP mounting system, wires, and screws, are included. Inspect each part for damage or missing items. Ensure the UWP mount is intact and ready for installation. This step ensures a smooth process and prevents delays during setup.
3.2 Understanding the UWP Mounting System
The UWP Mounting System is a universal wall plate designed to simplify the Honeywell T10 installation. It ensures proper leveling and alignment, preventing wiring issues. The system includes built-in wire management clips and adapters for compatibility with standard electrical boxes. Understanding its features, such as adjustable brackets and secure fasteners, is essential for a seamless installation process and optimal thermostat performance.
Installation Process
The installation process involves securely mounting the thermostat, connecting wires accurately, and finalizing the setup. Ensure all steps are followed carefully for optimal performance and system compatibility.
4.1 Mounting the Thermostat on the Wall
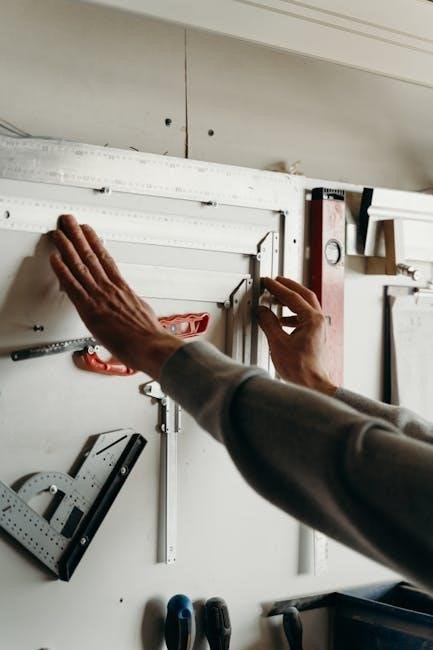
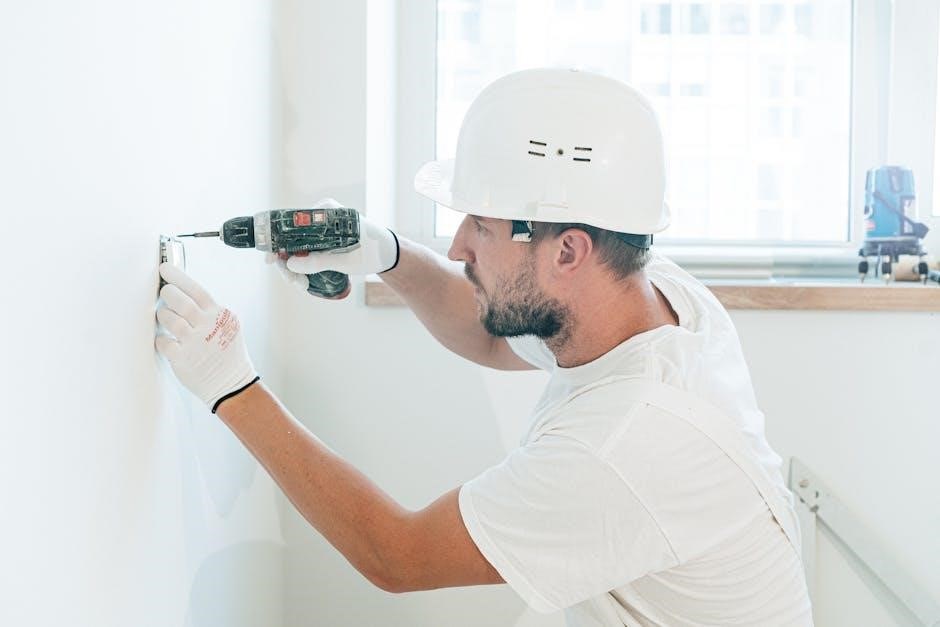
Begin by opening the package and locating the UWP Mounting System. Position the UWP on the wall, ensuring it is level, and mark the hole positions. Drill holes at the marked spots and insert wall anchors. Mount the UWP securely, then attach the thermostat to it. Ensure the device is level and firmly fastened for proper installation. Refer to the manual for precise instructions.
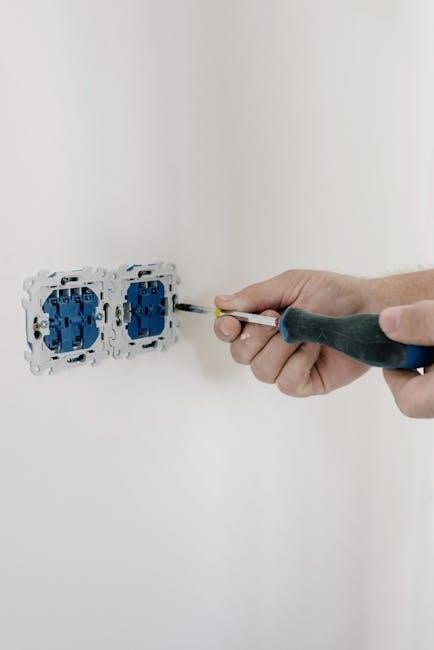
4.2 Connecting the Wires to the Terminal
Identify the terminal labels on the Honeywell T10 thermostat and match them with your HVAC system’s wires. Carefully connect each wire to the corresponding terminal, ensuring secure connections. Refer to the wiring diagram in the manual for specific terminal assignments. After connecting, double-check all wires for proper placement and tightness. Turn the power back on and verify the system operates correctly before proceeding.
4.3 Finalizing the Physical Installation
Tighten all wire connections and ensure the thermostat is securely mounted. Restore power to your HVAC system and test the thermostat’s functionality. Verify that all wires are correctly connected and the system operates as expected. Once confirmed, proceed to the configuration and setup phase to complete the installation process successfully.
Configuration and Setup
Complete the setup by navigating the menu, connecting wireless sensors, and configuring Wi-Fi. Follow on-screen instructions to finalize settings and ensure proper system integration.
5.1 Initial Setup and Menu Navigation
Begin by powering on the thermostat and following the on-screen instructions. Use the touchscreen interface to navigate through menus. Select the menu icon at the bottom of the screen to access settings. Choose options like HomeKit setup or equipment configuration. The display will guide you through connecting wireless sensors and setting up Wi-Fi. Ensure all steps are completed to enable full functionality. Refer to page 47 for detailed guidance if needed.
5.2 Connecting to Wireless Sensors and Wi-Fi
Pair the thermostat with wireless sensors by navigating to the Wi-Fi menu. Select your network, enter the password, and follow on-screen prompts. Ensure sensors are within range for optimal performance. The Honeywell Home app can assist with remote configuration. Verify connectivity by checking the sensor status in the thermostat menu. A stable Wi-Fi connection ensures seamless smart home integration and remote temperature control.
5.3 Setting Up Smart Home Integration
Link your Honeywell T10 to smart home systems like Amazon Alexa or Google Assistant for voice control. Use the Honeywell Home app to enable smart home features. Ensure your thermostat is connected to Wi-Fi, then follow in-app prompts to integrate with compatible devices. This setup allows seamless voice commands and remote temperature adjustments, enhancing your smart home experience with convenience and efficiency.
Advanced Features and Customization
Explore advanced settings like geofencing, smart recovery, and custom scheduling. Tailor your thermostat to your lifestyle by adjusting recovery ramps and droop settings for optimal comfort and efficiency.
6.1 Programming the 7-Day Schedule
Program your Honeywell T10 thermostat with a 7-day schedule for precise temperature control. Use the touchscreen interface to set unique temperatures for each day of the week. Follow the menu prompts to customize start and end times, ensuring energy efficiency and comfort. The thermostat guides you through each step, allowing adjustments as needed for tailored heating and cooling schedules throughout the week.
6.2 Adjusting Recovery Ramps and Droop Settings
Adjust recovery ramps and droop settings on your Honeywell T10 thermostat to optimize heating and cooling performance. Recovery ramps help the system reach desired temperatures before scheduled times, while droop settings control the temperature range around your setpoint. Access these settings through the advanced menu, ensuring proper configuration for your HVAC system type and comfort preferences. Adjustments can enhance efficiency and maintain consistent indoor conditions.
Troubleshooting Common Issues
Identify and resolve common issues with your Honeywell T10 thermostat, such as wiring problems or sensor connectivity. Use the display to guide through diagnostics and solutions.
7.1 Diagnosing Wiring and Connection Problems
Start by checking the thermostat’s display for error messages. Ensure all wires are securely connected to the correct terminals. Verify the power supply and inspect wires for damage. Use a voltage tester to confirm 24VAC power at the thermostat. If issues persist, consult the wiring diagram in the manual or contact a licensed electrician for assistance.
7.2 Resolving Sensor and Wi-Fi Connectivity Issues
Ensure wireless sensors are placed within range and free from obstructions. Restart the thermostat and router to reset the connection. Check for firmware updates, as outdated software may cause issues. If problems persist, reset the thermostat to factory settings and re-pair the sensors. Verify Wi-Fi network stability and ensure the thermostat is connected to the correct network.
Maintenance and Upkeep
Regularly clean the thermostat display with a soft cloth and avoid harsh chemicals. Schedule periodic firmware updates to ensure optimal performance and security.
8.1 Cleaning the Thermostat Display
To maintain your Honeywell T10’s performance, clean the display regularly. Power off the device before cleaning. Use a soft, dry cloth to wipe the screen gently. For stubborn marks, slightly dampen the cloth with water, but avoid soaking it. Never use harsh chemicals or abrasive materials, as they may damage the display. Clean the bezel and buttons similarly. Avoid touching the screen to prevent fingerprints. Use a microfiber cloth for the best results.
8.2 Updating the Firmware
Regular firmware updates ensure your Honeywell T10 operates optimally. Connect the thermostat to Wi-Fi and open the Honeywell Home app. Navigate to the menu, select “Device” or “Settings,” and check for updates. If available, download and install the latest version. The thermostat will restart during the update. Never interrupt the process. After completion, verify functionality through the app or device settings. Always follow on-screen instructions for a successful update.
Completing the Honeywell T10 installation ensures optimal performance. Conduct final checks, verify all settings, and enjoy enhanced comfort with your smart thermostat.
9.1 Final Checks and Verification
After installation, ensure all connections are secure and properly configured. Verify thermostat operation, sensor accuracy, and Wi-Fi connectivity. Test heating, cooling, and scheduling features to confirm functionality. Check for firmware updates and perform a full system test to ensure optimal performance and integration with smart home systems.